


However, doing anything consumes time and it gets even more difficult when you need to do it from scratch, without any prior knowledge.
Here in this article you will learn how you can build a professional looking WordPress blog without having any technical knowledge.
“Blogging with WordPress is as easy as writing a diary.”
Well, you can start a WordPress blog without buying a Top Level Domain like for example “www.Yourdomain.com” instead you can get a free sub-domain from WordPress like “www.YOURDOMAIN.wordpress.com”. But, here we are talking about creating a professional blog and having a blog with on a sub-domain doesn’t look professional.
How to buy a Domain Name?
Buying a domain is the trickiest part as you need to be simple and technical at the same time.You can get a domain name for less than 20 USD, but if you do enough research on Google then you can get a domain for as low as 3 USD.
Step 1 : Picking a Domain Name
Suppose you are a singer and your name is “Harry Potter”.
You should get a domain like “singerharry.com” or “harrythesinger.com” and if you wish to be more name specific then go with “harrypotter.com” simply.
Well, domain name doesn’t really matter much after your blog gets established. Just avoid choosing a domain that is lengthy, misspelled or is difficult to remember. Also, don’t use hyphens while choosing a domain.
I prefer having a “.com” domain and if not that then “.net” is nowhere less. If you run a free organisation or a trust, choose .org domai.
Note: Buying a domain name which refers to another
company’s name can lead to legal issues. Also, check whether your
Company Name is available in all Social Networks (Vanity URL)
Step 2: Set up WordPress on your Domain
In order to set up WordPress on your domain you have two options.
1. Buy Hosting at your favorite hosting service provider. I recommend you to go for Hostgator or BlueHost.
2. Use WordPress.com
Buying Hosting
Buying hosting for blogging as a total newbie is not smart. Most probably you’ll not get a good hosting experience with free or cheap hosting providers because;
1. Your WordPress Blog will work slower on their low quality.
2. Your WordPress Blog won’t get into Google and other search engines.
3. Hosting Provider will ban your WordPress Blog if your posts fetch a lot of traffic.
Using WordPress.com for Hosting your Blog. You can register an account on WordPress.com for free and use it to set-up a WordPress blog on your domain.
Step 3: Get a Professional looking Theme for your WordPress Blog
Having a professional looking theme installed on your WordPress Blog is must. A good looking website always convinces the visitor to stay on the website.
However, getting a good looking WordPress theme is not that easy. You need to use a theme that doesn’t slow down your blog and is SEO friendly and above all is eye-catching. You get more than 210 themes to use on your WordPress.com blog but you won’t be able to upload custom themes which are a great drawback. Uploading and editing themes is only supported on self-hosted WordPress blogs.
Step 4: Start Posting
Now when you have your blog ready for blogging you can start updating it with relevant information.
You can also join various social networking sites to get maximum exposure and find more people with common interests.
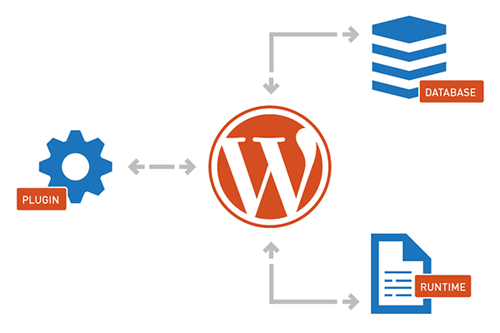
Step 5: Installing Plug-ins
The best thing about WordPress is that it allows you to customize the blog in many ways one of which is using plug-ins. Having necessary plug-ins installed on your WordPress Blog is essential in order to keep your Blog healthy.
Step 6: Social Sharing
There are several social sharing plug-ins available. For example there is a plug-in called “Digg Digg”. It is a Plug-in that adds a social sharing bar on your blog. It makes the sharing of your blog easy and it can gain you good traffic from social networking sites. There are several other social Plug-ins available out there, you just need to get them. I at (ExceptNothing) use TF Social Share.
Step 7: SEO Plug-ins
Keeping your Blog Search Engine Optimized is as essential as filling your vehicle with fuel.
There are several Plug-ins available for free and are very simple to use. I prefer using Yoast Plug-in as it is easy and provides all mandatory features required. You can create an XML sitemap of your site; customize categories, pages, posts etc. according to your needs. For On-Page SEO Plug-ins, you can go for EasyWPSEO or SEOPressor. Both are great choice
Step 8: Cache Plug-ins
Cache plug-ins can make your website faster. They create static HTML files from you dynamic blog. When the HTML file is created the web server will serve that file to visitors instead of those PHP scripts that are comparatively heavier. I prefer using WP Super Cache. It’s simple and dynamic and is simple to use at the same time.
Step 9: Logo
A blog or company’s logo is very important. It determines the Brand Identity. So, if you are good at Designing Logos, you can proceed designing it, or hire a good graphic designer and create a logo for your site. Stuck with creating a logo? Read this: Creating a Logo that will last.


0 comments:
Post a Comment